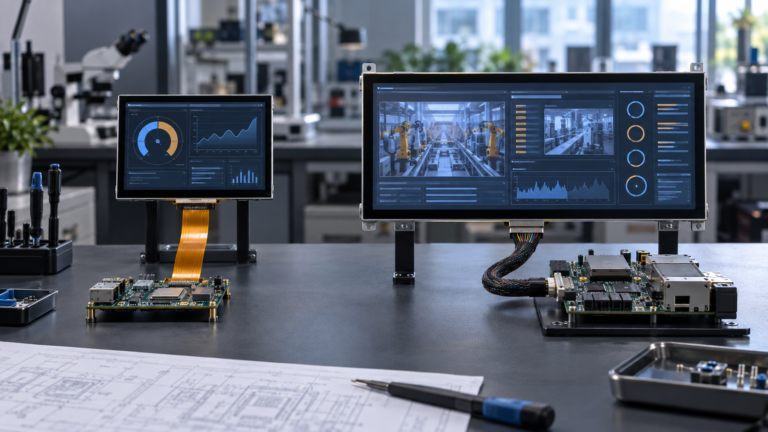
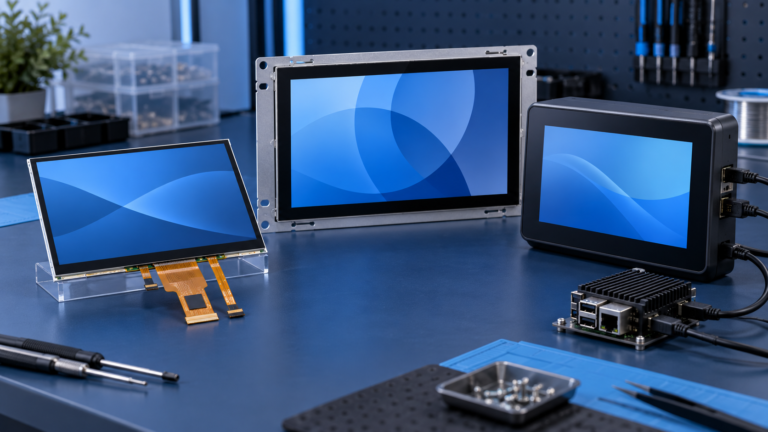
Facing a bottleneck in your Embedded Display Project?
Don’t let complex integration or supply chain issues slow your time-to-market. Book a free consultation with the RJY expert team for tailored design and manufacturing support.

A Raspberry Pi can turn a display, touch panel and software interface into a working HMI prototype quickly. Connect a monitor through HDMI, start the operating system and the concept may be visible within minutes. Turning that prototype into a compact, reliable product is a different engineering task.
When selecting a display screen for Raspberry Pi projects, the connector is only one consideration. The development team must also evaluate native resolution, display timing, touch communication, power distribution, startup behavior, brightness, viewing angle, mechanical installation and software support.
This guide explains the principal display paths and the decisions that matter when a Raspberry Pi-based prototype is expected to become an enclosed terminal, controller, information device or low-volume commercial product.
It is tempting to begin by searching for a screen with an HDMI or DSI connector. A stronger selection process begins with what the finished product must do.
Define the following before comparing display modules:
A screen that is convenient for software development may be too large, reflective or mechanically awkward for the final enclosure. Conversely, a compact native panel may fit the product well but require more driver and integration work.
HDMI is generally the simplest path for an early prototype. A complete HDMI monitor contains its own timing controller, power system and display electronics. An embedded TFT module can also be connected through an active HDMI controller board matched to that panel.
Advantages of the HDMI path may include:
The trade-offs can include additional PCB area, cabling, connectors, power consumption and startup complexity. A controller board must still support the exact LCD resolution, timing, pin definition, backlight and firmware configuration.
Raspberry Pi OS normally uses display capability information to select an HDMI mode and provides controls for resolution, refresh rate, orientation and scaling.1 However, a non-standard embedded controller may not report every mode correctly, and unusual resolutions may require additional system or firmware work.
DSI provides a compact display connection and can reduce the need for an external HDMI conversion board. This can be attractive for a thin enclosure or integrated HMI.
A DSI connector does not make every MIPI DSI panel directly compatible. The project must account for:
The official Raspberry Pi Touch Display illustrates how model, connector and cable details matter: different Raspberry Pi generations can require different FFC configurations, and Compute Module integrations may require the integrator to manage detection and interface allocation.2
A generic smartphone or tablet MIPI LCD should not be connected on the assumption that the physical connector is sufficient. MIPI DSI integration is panel-specific and may require both hardware and software adaptation.

The Display Parallel Interface can connect a compatible RGB panel through GPIO resources. Raspberry Pi documentation describes DPI as an alternative to HDMI and DSI on devices that expose the required GPIO, with RGB data and timing signals carried through the parallel interface.3
This path can suit embedded projects that already use a compatible RGB LCD, but it involves important trade-offs:
DPI should therefore be treated as an engineered embedded interface, not as a generic ribbon-cable connection.
Small SPI displays can be useful for status panels, compact controls and interfaces that do not require desktop-like frame rates. They use fewer signal lines than a wide parallel RGB connection, but available update rate and software behavior must be appropriate for the intended UI.
An SPI display may be suitable for buttons, values, indicators and relatively simple graphics. It may be less suitable for large animated dashboards, video or complex full-screen transitions.
The actual result depends on resolution, bus configuration, controller IC, software driver and application workload. “SPI” alone does not define usable performance.
| Display path | Main advantage | Main integration concern | Typical role |
|---|---|---|---|
| HDMI | Fast development and familiar video path | Extra controller hardware, cables, power and enclosure space | Prototype, kiosk, test equipment or enclosed terminal |
| DSI | Compact direct display connection | Panel-specific driver, timing, initialization and cable compatibility | Integrated touchscreen HMI |
| DPI / RGB | Direct parallel connection to compatible panels | Consumes GPIO resources and requires accurate timing | Custom carrier-board or embedded-display design |
| SPI | Low signal count for small displays | Update rate and software-driver limitations | Status display or simple compact interface |
The best route is not necessarily the one with the fewest components. It is the path that provides sufficient performance while keeping software, mechanical, power and lifecycle risks manageable.
Raspberry Pi boards can generate several display modes, but the finished system still needs a clear resolution strategy.
Ask three separate questions:
For an HDMI display, the monitor or controller may communicate supported modes to the operating system. If the controller does not report the expected mode, the system may select another resolution, produce borders or fail to display correctly.
For DSI, DPI and other native panel paths, the resolution and timing normally need explicit panel support. Matching width and height are not enough; pixel clock, porches, synchronization and signal polarity may also matter.
A high-resolution screen can make text and graphics clearer, but it also changes interface scaling, graphics workload and touch-target design. A physically small, high-density screen may require larger software scaling so that controls remain usable.
Test the actual application at the intended physical size. A desktop that looks acceptable on a monitor may produce controls that are too small for an embedded touchscreen.
Raspberry Pi OS provides options for display orientation and scaling, but changing the output orientation does not automatically create a good portrait or bar-screen interface.1
A portrait product should be designed around a portrait layout. A bar display should use a UI that fits a wide, shallow active area. A circular LCD may use a square framebuffer while requiring the application to keep critical content within the visible circle.
Before selecting an unusual display format, verify:
A product described as a Raspberry Pi touchscreen usually contains several electrical functions. These should be reviewed independently.
HDMI, DSI, DPI, SPI or another supported path carries image information to the display system.
The touch controller reports coordinates to the Raspberry Pi. Depending on the assembly, this communication may use USB, I²C or another interface. A working video connection does not prove that the touch controller has a supported driver.
The LCD logic, controller board, backlight and touch panel all require power. Some display assemblies can draw power from the host, while others need a separate regulated input.
The total design must consider:
Powering the screen from a convenient connector is not sufficient if the supply, cable and connector cannot support the complete system under load.

A display may show the correct image while touch coordinates are rotated, mirrored or scaled incorrectly. This occurs because display orientation and touch orientation are handled through different parts of the software stack.
Typical symptoms include:
The system may need touch transformation, calibration, driver configuration or firmware adjustment. The final test should use the intended operating system and application inside the real enclosure.
A screen used on an indoor test bench may become difficult to read after it is installed near a window or behind reflective cover glass.
Display visibility depends on:
Select brightness from the installation environment rather than assuming that the highest available value is always preferable. Higher backlight power can affect heat, power-supply design and enclosure ventilation.
A development monitor is a finished product with its own stand and housing. An embedded display must become part of another product.
The mechanical review should cover:
A display that works with loose cables can fail mechanically when the same cables are sharply folded inside a compact housing. Connector location should be evaluated before the enclosure design is frozen.
A prototype developer may tolerate boot messages, resolution changes or a delayed desktop. Users of a finished HMI expect a controlled startup process.
Test what the user sees during:
The panel, controller board and backlight may become active at different times. A bright blank image or invalid intermediate frame may appear before the application starts. Depending on the selected hardware path, the project may need backlight sequencing, application launch control, a splash screen or firmware coordination.
A standard Raspberry Pi board can be an effective development platform and may also suit some finished low-volume products. A more integrated commercial design may consider a Compute Module and carrier board when enclosure, I/O placement and connector control become priorities.
This is a system-architecture decision rather than a display requirement. Moving to a Compute Module does not automatically make an LCD compatible. The carrier design must still provide the correct display interface, power, touch path, backlight control and software support.
The display should therefore be selected with the intended production architecture in mind. Otherwise, a screen proven with an external HDMI adapter may require substantial rework when the product moves to a custom carrier board.
| Development priority | Product priority |
|---|---|
| Fast connection | Controlled and serviceable integration |
| Available desktop resolution | Native UI resolution and correct scaling |
| Loose HDMI and USB cables | Retained cables or integrated FFC connections |
| Open-air cooling | Thermal behavior inside the enclosure |
| Generic front glass | Product-specific cover glass and touch assembly |
| Manual restart and setup | Repeatable startup, recovery and shutdown |
| One engineering sample | Controlled components, firmware and production process |
Record the Raspberry Pi or Compute Module model, operating system, required peripherals and available display connections.
Define size, resolution, shape, brightness, viewing position, touch behavior, cover glass and environment.
Choose HDMI, DSI, DPI, SPI or another supported path based on technical requirements rather than connector convenience.
Verify native resolution and timing, then verify touch communication and power stability. Document every cable, adapter, driver and configuration dependency.

Check viewing angle, reflection, touch alignment, FFC routing, connector access, ventilation and mounting pressure.
Run the intended interface continuously. Test boot, screen blanking, restart, touch, orientation and normal user workflows.
Record the approved LCD, touch controller, controller board, firmware, operating-system image, cables and mechanical parts. A change to one element may require renewed compatibility testing.
For a project-specific evaluation, prepare:
A suitable Raspberry Pi display is more than an LCD that can show the desktop. The display, interface electronics, touch controller, power system, software and enclosure must operate as one product.
HDMI can accelerate prototyping, while DSI or DPI may support a more integrated architecture when the required panel and software support are available. SPI can be practical for smaller and simpler interfaces. None of these paths is universally best.
If you need installation steps for an existing module, see How to Set Up a TFT LCD Raspberry Pi Display. For a current RJY product example, review the 7-inch Raspberry Pi touch LCD display screen.
For an OEM or embedded HMI project, explore RJY custom display solutions or contact RJY with the computing platform, display, touch and enclosure requirements for a compatibility review.
A compatible display may use HDMI, DSI, DPI, SPI or another supported path. Compatibility depends on the Raspberry Pi model, panel resolution, interface, timing, driver support, touch interface, power and operating-system configuration.
HDMI is often convenient for rapid prototyping and standard video output. DSI can support a more compact integrated connection, but it requires panel-specific hardware, cable and software compatibility. The better choice depends on the final product architecture.
No. The panel must match the available DSI hardware and requires appropriate lane configuration, timing, initialization, driver support, power and backlight control. A matching connector does not establish compatibility.
Video and touch normally use separate communication paths. The LCD can display an image while the touch controller still lacks the correct USB or I²C connection, driver, orientation or coordinate configuration.
Test native resolution, timing, startup, repeated power cycles, touch alignment, power stability, brightness, viewing angle, enclosure temperature, cable routing, mechanical mounting and the complete application workflow.
Share your display size, resolution, interface, brightness, touch requirement, controller board requirement, and application environment.
Continue reading related display technology guides and application references.
Talk to RJY’s engineering team for display matching, controller board review, and customization discussion.